How to Overclock RAM: Boost Your PC’s Performance with Simple Tweaks
When it comes to improving your computer’s performance, most users focus on upgrading the CPU, GPU, or adding more storage. However, one of the most overlooked and cost-effective ways to boost your system’s speed is overclocking RAM. By pushing your RAM beyond its stock speed, you can improve memory bandwidth, reduce lag, and see performance improvements without buying new hardware. If you want to take your gaming, video editing, or everyday computing experience to the next level, this guide will show you how to overclock your RAM effectively.
Before you start, it’s worth noting that overclocking can seem intimidating, but with the right guidance, anyone can safely overclock their RAM. In this article, we will break down the process into easy-to-follow steps and explore the potential risks and benefits. If you are looking to enhance your system, and you haven’t explored Ltechuk yet for related hardware components, now is a good time to check them out for further upgrades.
What Does It Mean to Overclock RAM?
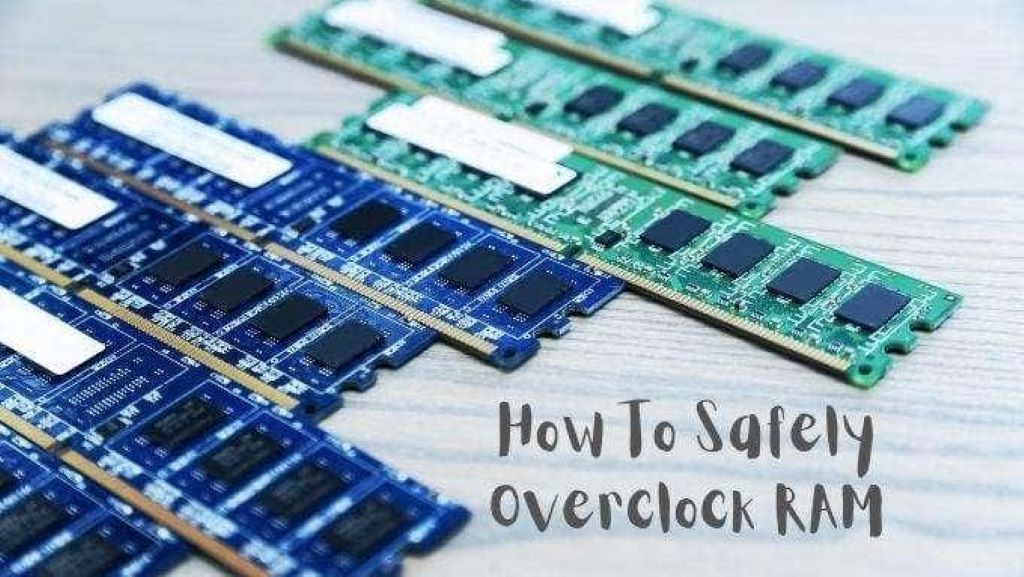
Overclocking RAM refers to the practice of increasing the speed (frequency) of your RAM modules beyond their default specification. Memory frequency, measured in MHz, determines how quickly your system can access data from RAM, directly influencing system responsiveness. By overclocking, you are essentially telling your RAM to run faster, which can lead to improved overall performance, especially in memory-demanding tasks such as gaming, video rendering, or running multiple applications simultaneously.
Overclocking isn’t limited to CPUs or GPUs – RAM can also be overclocked to push the boundaries of its potential. As a result, your system can run faster, providing noticeable improvements in multitasking performance.
Why Should You Overclock Your RAM?
Overclocking RAM can be incredibly beneficial, particularly if you’re a gamer, content creator, or someone who requires maximum system performance. Here are some reasons why you might want to consider overclocking your RAM:
- Increased Performance in Memory-Intensive Tasks: Tasks like video editing, 3D rendering, and gaming benefit from faster RAM. When your system’s memory is overclocked, it can handle more data simultaneously, reducing load times and improving multitasking.
- Cost-Effective Upgrade: Rather than buying a new CPU or GPU, overclocking your RAM can provide a noticeable performance boost without the expense of new hardware.
- More Efficient System: Overclocked RAM can make your computer feel more responsive when switching between programs, opening files, or performing other everyday tasks.
The Risks of Overclocking RAM
While overclocking can bring performance improvements, it also carries some risks. These are important to understand before you make any changes:
- System Instability: Pushing your RAM beyond its rated speed can lead to crashes or errors. If your system is not stable after overclocking, it can become frustrating, especially during gaming or productivity tasks.
- Increased Heat: Overclocking generates additional heat, which, if not managed properly, can harm your components. Make sure your cooling system is up to the task.
- Voiding Warranty: Some manufacturers void warranties if they detect that overclocking has been performed. It’s important to read the fine print of your hardware’s warranty before proceeding.
Step-by-Step Guide: How to Overclock RAM
Now that we’ve covered the basics, let’s get into the step-by-step process of overclocking your RAM safely and efficiently.
Step 1: Know Your RAM Specifications
Before diving into overclocking, it’s important to know your RAM’s specifications. Look up the default frequency, latency (timings), and voltage of your RAM. You can find this information using software like CPU-Z or by checking the RAM manufacturer’s website.
Ensure that your motherboard supports RAM overclocking, as some cheaper or older boards might not have the necessary options in the BIOS/UEFI.
Step 2: Enter the BIOS/UEFI
To start the overclocking process, restart your computer and enter the BIOS or UEFI settings. The method of entering the BIOS will vary depending on your motherboard, but it’s usually done by pressing the Delete key or F2 key during the boot process.
Once inside, navigate to the “Memory” or “Overclocking” section of the BIOS, which is where you can make adjustments to your RAM.
Step 3: Enable XMP (Extreme Memory Profile)
One of the easiest ways to overclock your RAM is by enabling XMP (Extreme Memory Profile). This is a pre-configured profile that your RAM manufacturer has set for higher performance. Enabling XMP will automatically adjust your RAM to run at its maximum rated speed, without needing to tweak individual settings.
To enable XMP:
- Look for an XMP setting in your BIOS. It might be called “XMP,” “DOCP,” or “EOCP,” depending on your motherboard brand.
- Enable it and save the settings.
Enabling XMP is the simplest way to overclock, and it’s safe for most users. However, if you want to take it further, you can manually adjust the settings.
Step 4: Manually Overclock RAM
If you want to push your RAM beyond its rated speed, you can manually adjust the RAM frequency, voltage, and timings.
- Increase Frequency: Start by gradually increasing the memory frequency (measured in MHz). For example, if your RAM runs at 3000 MHz, try bumping it to 3200 MHz or 3333 MHz.
- Adjust Timings: Lowering memory timings can increase performance. However, this requires more experience, as incorrect settings can cause instability.
- Increase Voltage: If the system is unstable, you might need to increase the voltage slightly. But be cautious – too much voltage can damage your RAM.
After making each adjustment, save the changes and reboot your system. Use software like Prime95, MemTest86, or AIDA64 to run stress tests and check for stability.
Step 5: Test for Stability
Testing your RAM after overclocking is crucial. If your system crashes or shows errors during stress tests, you may need to dial back the overclock settings. Stability is far more important than speed when it comes to overclocking. If your RAM runs without issues for a few hours during stress tests, you’ve successfully overclocked it.
Also, DDR is commonly used in your computer’s system memory, whereas GDDR is used in graphics cards. DDR focuses on general system tasks, while GDDR is optimized for the heavy demands of rendering graphics. To dive deeper into this topic, you can explore what is the difference between DDR and GDDR?.
Tips for Safe Overclocking
Overclocking RAM can be risky if not done correctly. Here are some tips to keep in mind:
- Increase Slowly: Always increase the frequency gradually and test for stability after each adjustment.
- Monitor System Temperatures: Overclocking generates additional heat, so ensure your system is properly cooled.
- Back Up Data: It’s always a good idea to back up your important data before making changes to your system’s hardware.
- Don’t Overdo It: It’s easy to get carried away and push your hardware too far. Always prioritize system stability over raw speed.
People Also Loved: 7 Cybersecurity Threats You Can’t Afford to Ignore in 2025
Conclusion
Overclocking RAM is an excellent way to improve your PC’s performance without breaking the bank. Whether you’re gaming, rendering, or just multitasking, faster RAM can make your computer feel much more responsive. By following these simple steps and being cautious with voltage and timings, you can safely overclock your RAM for better performance.
Remember that overclocking does come with risks, so always test for stability and make gradual changes. With a bit of patience and the right tools, you’ll have a faster, more responsive computer in no time.


